 Save
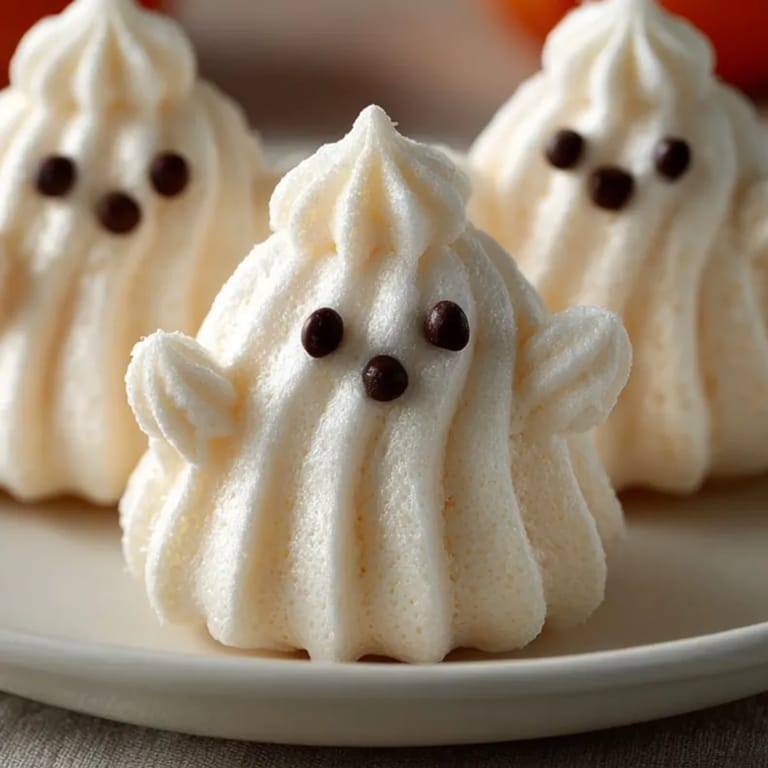
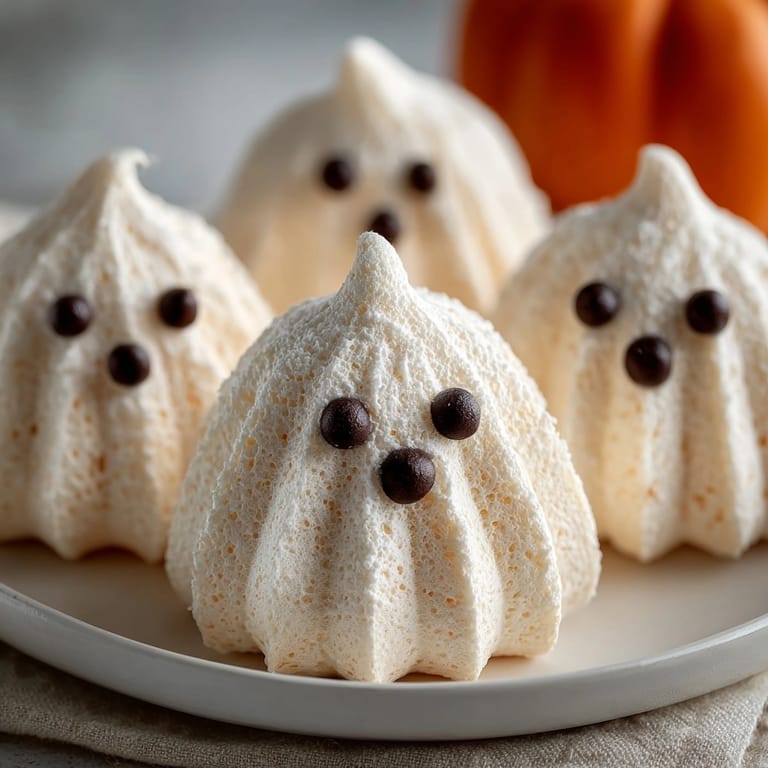
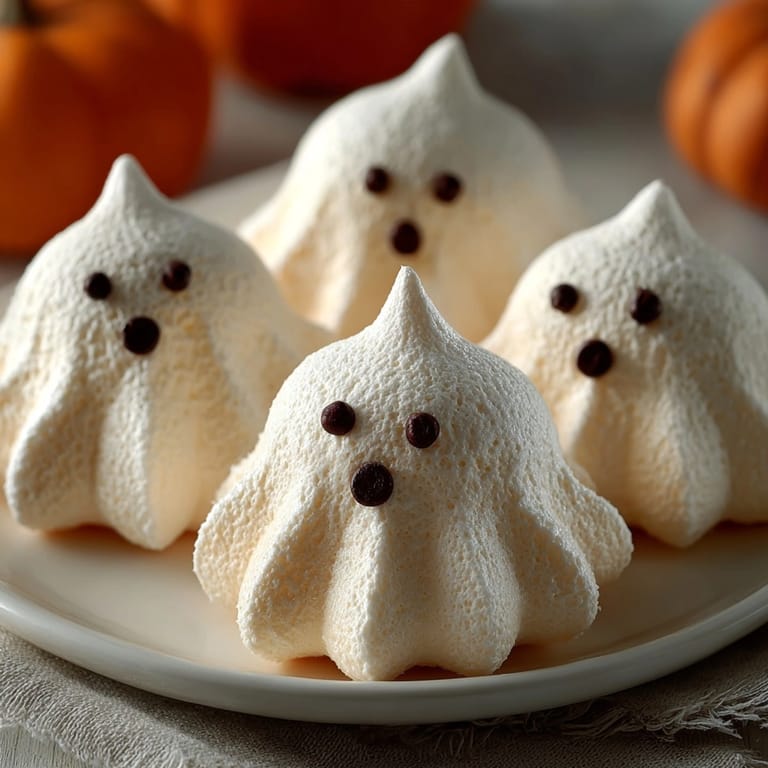
Save These feather-light ghost meringues are always a highlight at our fall gatherings—a playful dessert that brings out smiles in kids and grown-ups alike. With crisp exteriors and airy centers, they make any Halloween spread feel extra magical. This recipe teaches you how to whip up a batch of festive meringue cookies that are as cute as they are delicious.
I remember the first time my daughter helped pipe these spooky little shapes—she made them all with tiny smiles instead of ovals. Now it is our October tradition every year.
Ingredients
- Large egg whites: provide structure for that signature chewy crisp meringue
- Granulated sugar: stabilizes the whipped whites and gives shiny gloss
- Cream of tartar: ensures volume and helps your ghosts hold their shape
- Vanilla extract: brings warm cozy depth to the sweet base use pure for best flavor
- Mini chocolate chips: make charming eyes go for dark chips with a glossy finish
- Melted dark chocolate (optional): for those with fancier decorating ambitions
Tired of Takeout? 🥡
Get 10 meals you can make faster than delivery arrives. Seriously.
One email. No spam. Unsubscribe anytime.
Instructions
- Prep Your Baking Sheets:
- Line two sturdy baking sheets with parchment paper making sure the paper lays flat to prevent sticking
- Whip the Egg Whites:
- Place room temperature egg whites and cream of tartar in a squeaky clean mixing bowl Begin mixing at medium speed until soft peaks form This step forms the backbone of your meringue cookies
- Add Sugar Gradually:
- Slowly pour in sugar one tablespoon at a time while whipping Increase mixer to high and continue whipping for up to seven minutes Mixture should turn dense glossy and hold stiff peaks when you lift the beater
- Blend in Flavor:
- Add vanilla extract and beat just until blended This makes each bite aromatic and comforting
- Pipe the Ghosts:
- Transfer meringue to a piping bag fitted with a large round tip or use a zip-top bag with the corner cut Pipe tall ghostly swirls onto the parchment spaced an inch apart Shape peaks for whimsical heads
- Add Eyes:
- If using chocolate chips gently press two into each ghost for eyes For melted chocolate wait and decorate after baking
- Bake Low and Slow:
- Bake at 200 degrees Fahrenheit for ninety minutes The ghosts should finish dry and easily peel off the parchment Skipping this slow bake can make meringues collapse
- Cool Gradually:
- Turn the oven off crack the door and let your ghosts cool all the way inside This step minimizes cracks and keeps the texture perfect
- Decorate If Needed:
- For melted chocolate eyes use a toothpick or a piping bag to dot on eyes after the meringues are cool and set
 Save
Save Every year I look forward to seeing what personality each ghost takes on The piping step is my favorite—some ghosts become spooky some goofy and we always end up laughing during decorating
Storage Tips
Keep your ghost meringues crisp by storing them in a truly airtight container in a cool dry place Room temperature is best refrigeration can soften them Avoid humidity it is the enemy of meringues They last beautifully up to a week but are honestly at their best the day after baking
Ingredient Substitutions
You can swap chocolate chips for mini candies or use food-safe marker pens for eyes If you are out of cream of tartar a few drops of lemon juice can help stabilize the whites For a citrusy twist swirl in finely grated orange or lemon zest with the sugar
Serving Suggestions
Arrange ghost meringues along a black platter for dramatic effect nestle them into bowls of berries for a lighter dessert or float them atop mugs of hot chocolate for a spooky surprise Kids love plucking them off cakes or cupcakes as edible toppers
Cultural and Holiday Fun
Meringue cookies became popular centuries ago in European baking prized for being simple and ethereal In the US these playful ghosts have made their way into Halloween tradition I grew up making them before trick-or-treating as a sweet snack to share with neighbors
Seasonal Adaptations
Add a dust of cinnamon or swap vanilla for almond around Thanksgiving Shape smaller meringues as snowmen for winter celebrations In spring pipe meringue bunnies or chicks for whimsical Easter treats
Success Stories
One Halloween I made a giant tray for a school party and the ghost meringues were gone before I could set out napkins Friends ask for these every year and little hands always want to help decorate the eyes Who knew a simple egg white recipe could make such unforgettable memories
Freezer Meal Conversion
While meringue cookies do not freeze well for serving later you can freeze the raw shaped meringue shapes on trays then bake straight from frozen when ready This saves you time if prepping for a big bash just add five to ten minutes to baking time
 Save
Save With a handful of pantry ingredients and a little patience you will bring spooky sweet joy to your next autumn party. These ghost meringues disappear fast so be sure to make extra!
Recipe Guide
- → How do I achieve stiff, glossy meringue peaks?
Beat egg whites with cream of tartar until soft peaks form, then gradually add sugar and continue beating until stiff, glossy peaks appear. Use a clean, dry bowl for best results.
- → Should chocolate chips be added before or after baking?
Chocolate chips for eyes are gently pressed in before baking. If using melted chocolate, bake first and add eyes after the cookies have cooled.
- → How do I prevent meringues from cracking?
After baking, turn off the oven and crack the door open. Let meringues cool slowly inside to minimize cracking.
- → How should I store these treats to keep them crisp?
Place fully cooled meringues in an airtight container at room temperature for up to a week. Avoid humidity, which softens them.
- → Can I add extra flavor to the meringue?
Yes, a pinch of almond extract or a touch of orange zest can be added to the meringue mixture for a flavor boost.
- → Are these cookies suitable for gluten-free or nut-free diets?
Yes, they are typically gluten-free and nut-free, but always verify chocolate and other ingredient labels for allergens.