 Save
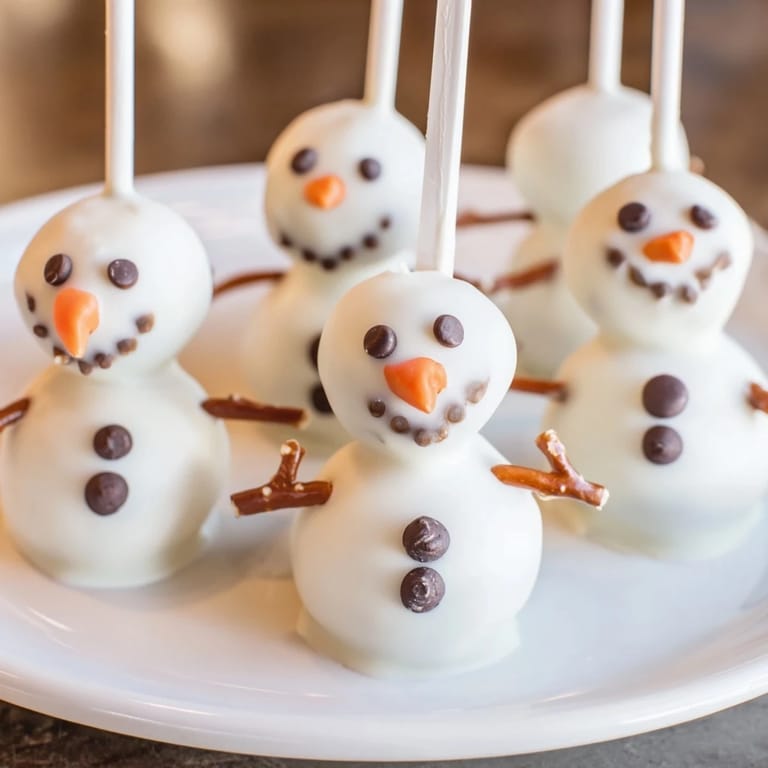
Save My neighbor knocked on my door one December afternoon with flour in her hair and a slightly frazzled expression, asking if I had any Oreos on hand. Turns out she'd promised her daughter a special holiday treat but wasn't sure what to make. We ended up crushing an entire package together in her kitchen, mixing it with cream cheese while her daughter watched from the counter, hands pressed against the glass. That afternoon turned into something magical—not because the recipe was complicated, but because we were making tiny snowmen that actually looked like snowmen, complete with pretzel arms and little chocolate chip smiles. Now whenever the holidays roll around, this is the first thing everyone asks me to bring.
I brought these to a holiday cookie swap last year and watched people's faces light up when they realized these weren't store-bought. One woman actually asked me to teach her right then and there, standing in the kitchen with a napkin in one hand and a cake pop in the other. She was worried they'd be complicated, but once I showed her how simple the rolling and stacking part is, she relaxed. That's when it clicked for me—this recipe works because it bridges that gap between looking impressive and actually being manageable.
Ingredients
- Oreo cookies, 36 of them (about 1 standard package): This is your base, and honestly, don't cheap out here—regular Oreos work better than the store-brand knockoffs because they have the right moisture level and that signature cream filling that makes the dough cohesive.
- Cream cheese, 180 g softened: Make sure it's actually soft, not cold from the fridge, or you'll end up with a lumpy, hard-to-work-with mixture that fights you while rolling.
- White chocolate or candy melts, 350 g: Candy melts are honestly easier because they don't require tempering and they set smoother, but white chocolate works if that's what you have on hand.
- Mini chocolate chips or black decorating gel: For the eyes and buttons—the gel is forgiving if you're not steady-handed, but chips look more charming.
- Orange sprinkle or colored icing: This becomes the carrot nose, and a tiny pinch goes a long way.
- Pretzel sticks or colored fondant: For arms and scarves—pretzels are faster and taste better, but fondant looks fancier if you're going for that.
- Lollipop sticks: These are the backbone of everything, so get the sturdy kind.
Tired of Takeout? 🥡
Get 10 meals you can make faster than delivery arrives. Seriously.
One email. No spam. Unsubscribe anytime.
Instructions
- Crush the Oreos into a fine crumb:
- Pulse them in a food processor until they look like dark sand. If you don't have a processor, seal them in a zip-top bag and go at them with a rolling pin for a few minutes—it's oddly satisfying and gives you time to think about what you're making.
- Mix in the softened cream cheese:
- Fold it in gently at first, then stir with more confidence until you get a uniform, smooth dough. This takes maybe two minutes, and the mixture should come together like thick frosting.
- Roll two sizes of balls:
- Make 32 small ones (about the size of a marble) and 16 slightly bigger ones (about the size of a walnut). Consistency helps them look more snowman-like, so take a breath and don't overthink it.
- Stack and stick:
- Balance one small ball on top of one large ball for each snowman, press gently where they meet, then carefully push a lollipop stick through the center of both. Arrange them on parchment paper, standing upright like tiny soldiers.
- Chill until firm:
- Pop them in the freezer for 20 to 30 minutes—this step is non-negotiable because it keeps them from falling apart when you dip them in warm chocolate.
- Melt your coating chocolate:
- Microwave in 30-second bursts, stirring between each one, until you have smooth, pourable chocolate. If it gets too thick, add a tiny bit of coconut oil or vegetable oil to loosen it up.
- Dip each snowman:
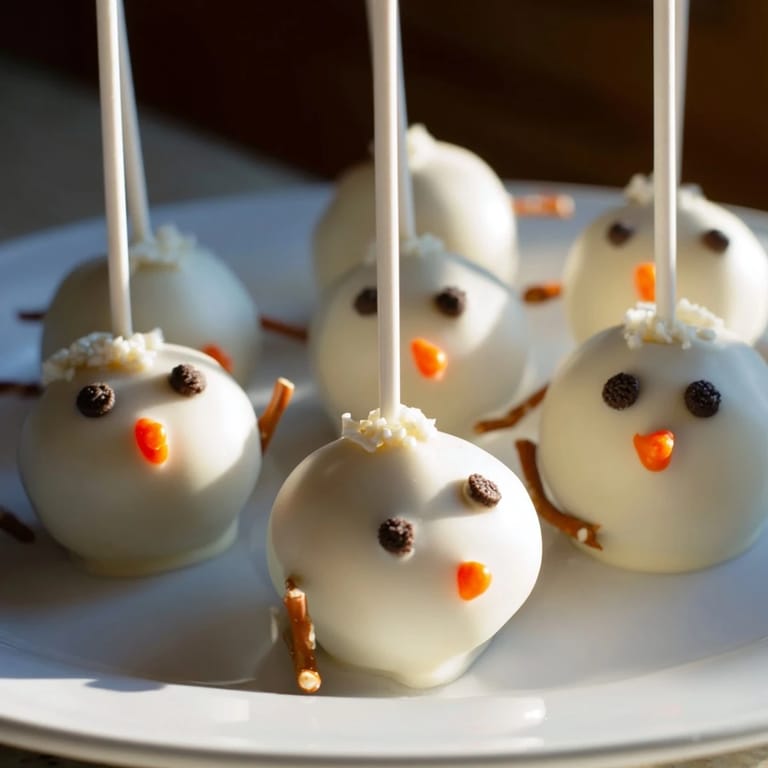
- Hold it by the stick and dip it straight down into the melted chocolate, turning gently to coat all sides, then lift and let the excess drip off for a few seconds. Place it upright in a styrofoam block or a tall cup to dry.
- Decorate while the coating is still tacky:
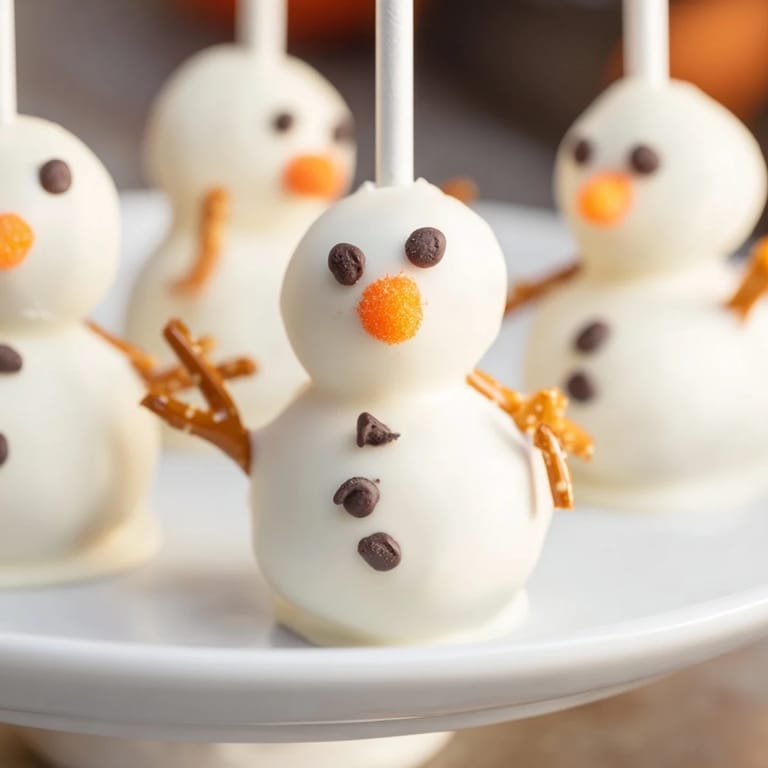
- Add chocolate chip eyes and buttons, a tiny dot of orange for the nose, and whatever else feels right. The warmth of the chocolate makes everything stick without extra adhesive.
- Add final touches once set:
- Poke pretzel pieces into the sides for arms and top with fondant scarves or little hats if you're feeling fancy.
 Save
Save A friend's six-year-old asked me why the snowmen were smiling, even though I hadn't decorated them with mouths. I realized she was seeing personality in the chocolate chips and imagining the rest, which is exactly what makes these special—they're simple enough for anyone to decorate, but detailed enough to feel like real characters. That's when I understood this recipe isn't really about following instructions; it's about the moment when something homemade becomes something treasured.
Timing and Flexibility
The beauty of this recipe is that you can make the dough days ahead and just keep it in the fridge, then assemble and decorate whenever you have 30 minutes free. I've made the balls on Monday and decorated them on Friday without any problems. If you're short on time, skip the fondant scarves and stick with pretzels—they take 10 seconds to poke in and look just as cute. The only part you can't rush is the freezing, so plan accordingly if you need them on a specific day.
Decorating Like You Mean It
This is the part where you get to have fun and stop following rules. Some of my best versions have googly eyes or tiny hats made from colorful paper. I've seen people use crushed candy canes for scarves, pretzel twists bent into little arms, and even edible gold leaf for fancy snowmen. The chocolate chip eyes can be arranged close together (cute) or far apart (goofy), and that one decision changes the whole personality. Don't stress about making them perfect—crooked noses and uneven buttons somehow make them more charming.
Storing and Gifting
Keep them in an airtight container in the fridge for up to five days, and they actually hold up better as time goes on because the flavors meld. They travel well too, so these are excellent for potlucks, holiday parties, or just surprising someone with something you made with your own two hands. If you're giving them as gifts, stack them in a clear box with parchment between layers, add a little ribbon, and suddenly you've got something that looks professionally done.
- Pack them in single layers with parchment between each one so they don't stick together in storage.
- Let them come to room temperature for about five minutes before eating so the chocolate coating gets softer and the Oreo filling tastes less cold and dense.
- These freeze beautifully for up to a month if you wrap them well, giving you an excuse to make a huge batch whenever the mood strikes.
 Save
Save Making these feels like you're doing something special, even though you're just combining five ingredients and letting your hands do the decorating. That's the whole point, really.
Recipe Guide
- → How do I achieve the perfect dough consistency?
Ensure the cream cheese is softened before mixing with crushed Oreos, then combine until smooth but firm enough to shape.
- → Can I use an alternative to white chocolate for coating?
Yes, candy melts or other coating chocolates can be used as long as they melt smoothly and harden well.
- → How long should I chill the assembled snowmen before coating?
Freeze the snowmen for at least 20–30 minutes to ensure firmness and easier dipping.
- → What are some decoration tips for the snowman features?
Mini chocolate chips or decorating gel work well for eyes and buttons; use orange icing or sprinkles for the nose, and pretzel sticks or fondant for arms and scarves.
- → Can these be stored after preparation?
Store the coated snowman bites in an airtight container in the refrigerator for up to 5 days to maintain freshness.