 Save
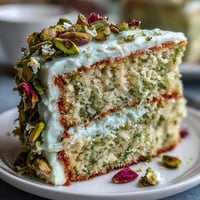
Save The morning I decided to bake a mini matcha cake was less about birthdays and more about bringing a bit of playfulness to our Sunday brunch. As the sunlight crept across the counter, the kitchen filled with a subtle green aroma—delicate but unmistakable, just like opening a fresh tin of matcha. My playlist was upbeat, spoons clinking against bowls, and there was a spontaneous joy to layering tiny rounds of green sponge with swirls of frosting. It was as if making a cake small enough to smash invited everyone to let go of perfection and simply enjoy. Whether you slice it, smash it, or just sneak a forkful before coffee, this cake has a personality as lively as the celebration itself.
I once made this for a friend's low-key birthday, just three of us chatting over lazy brunch. We ended up taking turns smashing the cake with a spoon, declaring the best part watching the creamy frosting oozing between the layers. That impromptu mess triggered more laughter than any fancy candle ever could. The little cake morphed from centerpiece to conversation starter in seconds. Ever since, someone always asks if it's on the menu whenever brunch rolls around.
Ingredients
- All-purpose flour: Use just enough to keep the cake tender without making it dense; sift for the airiest texture.
- Granulated sugar: Balances matcha’s earthy notes and gives a golden lift to the crumb.
- Baking powder & baking soda: This combo helps the mini layers rise beautifully—don’t skip either.
- Salt: Just a little brings out the nuanced flavors in matcha and vanilla alike.
- Matcha powder (culinary grade): Pick a bright green variety for vibrant color; whisking it in eliminates clumps.
- Whole milk, room temperature: Room temp milk keeps the batter smooth and prevents seized fat.
- Large egg, room temperature: Vital for structure; letting it warm makes the batter blend more evenly.
- Vegetable oil: Results in a lighter, moister crumb than butter—no greasy aftertaste.
- Vanilla extract: A splash elevates the cake’s aroma and rounds out the flavors.
- Unsalted butter, softened: For frosting silkiness, beating it first prevents lumps.
- Powdered sugar, sifted: Sifting means your frosting stays cloudlike, never gritty.
- Milk (for frosting): Just enough loosens the frosting for spreading; add a drop at a time.
- Vanilla extract (for frosting): This double hit of vanilla ties the cake and the frosting together perfectly.
- Pinch of salt (for frosting): Balances the sweetness—my secret to keeping frosting from tasting flat.
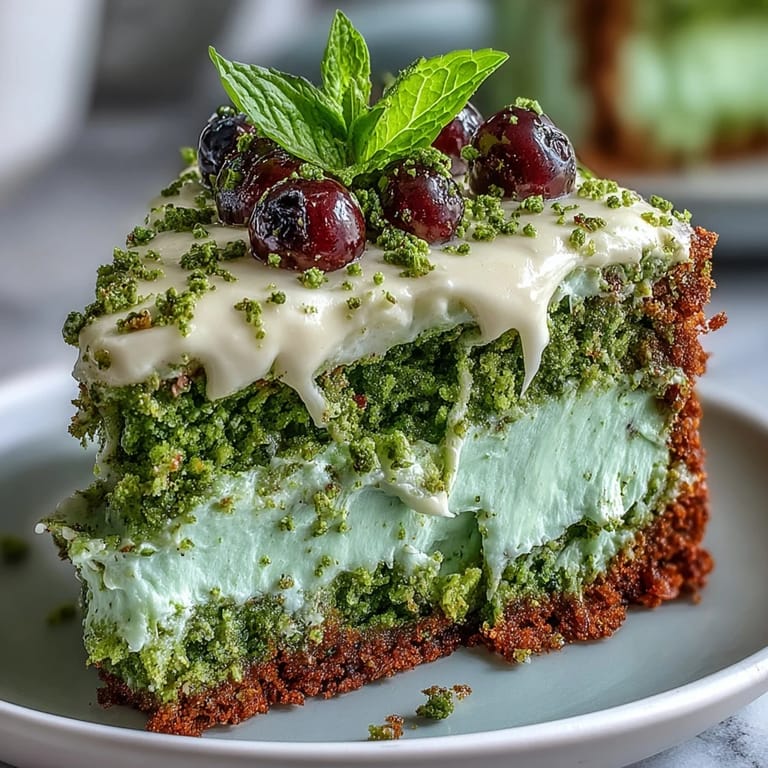
- Sprinkles or fresh berries: Either brings a pop of color and fun—use whichever fits the mood.
Tired of Takeout? 🥡
Get 10 meals you can make faster than delivery arrives. Seriously.
One email. No spam. Unsubscribe anytime.
Instructions
- Get your pans ready:
- Preheat the oven to 350°F (175°C) and line two little 4-inch pans with parchment, letting the paper poke up for easy removal later.
- Sift the dry magic:
- Mix flour, sugar, baking powder, baking soda, salt, and bright matcha in a bowl; the color will instantly lift your mood.
- Whisk the wet team:
- In a separate dish, beat together milk, egg, oil, and vanilla until just blended, releasing a sweet vanilla perfume.
- Mix and fold:
- Pour the wet into the dry and stir gently—just until you see the last streak disappear, so your cake bakes up fluffy.
- Divide and smooth:
- Spoon the batter into your pans, smoothing the tops with the back of your spoon so they bake up even.
- Bake and check:
- Slide them into the oven for 15–20 minutes; they’re done when a toothpick in the center comes out clean and springy to the touch.
- Cool it down:
- Let the cakes rest in their pans for 5 minutes, then shimmy them out and cool fully on a wire rack.
- Creamy frosting time:
- Beat the softened butter until fluffy, then gradually sift in powdered sugar; finish with milk, vanilla, and salt, blending till it’s glossy and smooth.
- Layer and frost:
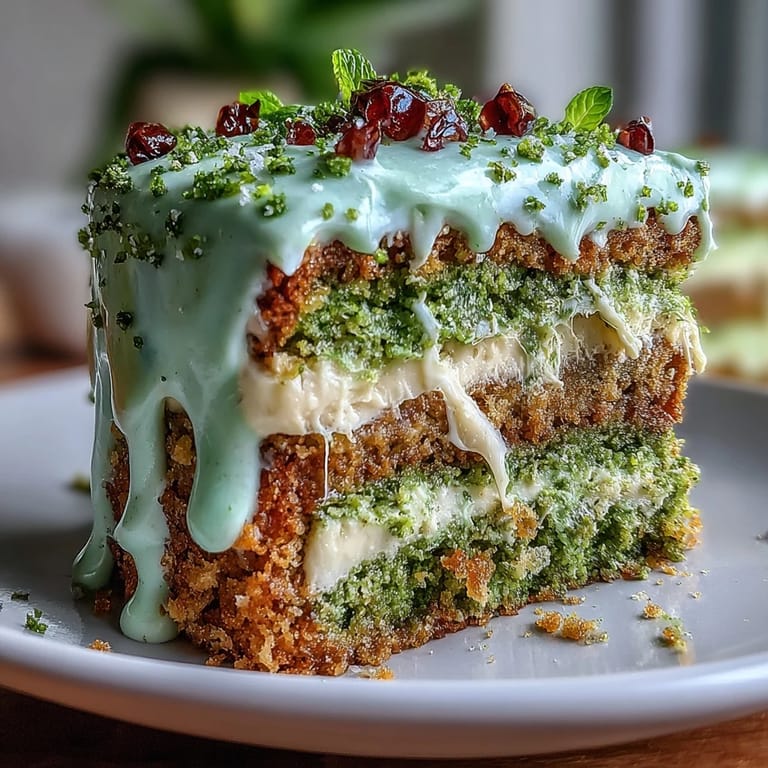
- Spread a swoop of frosting between the cooled cakes, stack them, and swipe a light layer all around the outside.
- Decorate and enjoy:
- Scatter sprinkles or berries on top and invite everyone to dig in however they like—smash, slice, or steal a bite right away.
 Save
Save 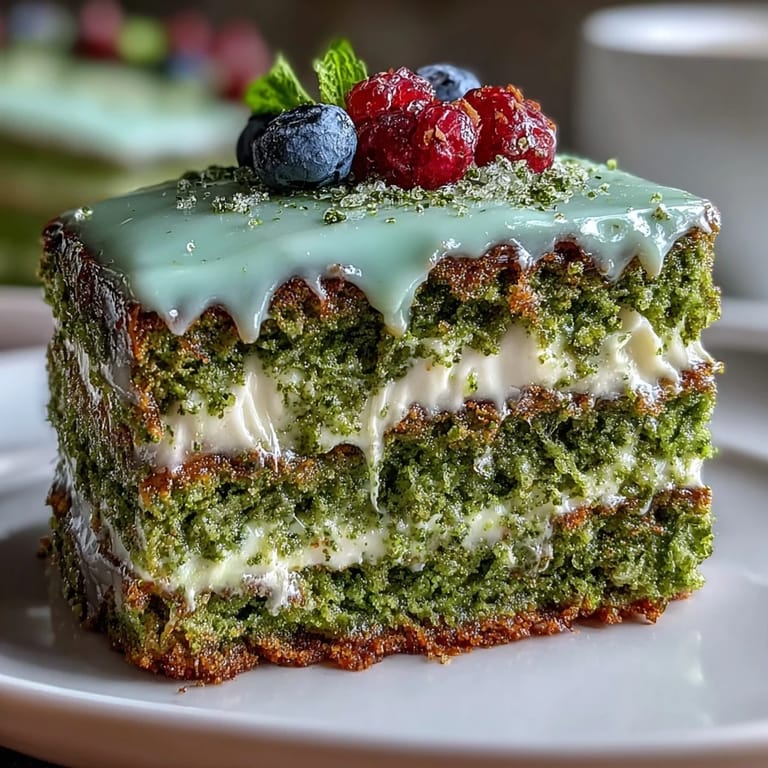 Save
Save The day my niece took the first swing at this mini cake, her icing-smeared grin made it obvious: sometimes food is about pure delight. That tiny, slightly lopsided cake managed to bring grown-ups to the table faster than any brunch bell ever could.
Tiny Tools Make the Difference
Prepping small cake pans always feels charming but also a bit fiddly. I learned that lining the pans with parchment circles and leaving a little ‘tab’ on the side means you can lift delicate layers out with zero drama or sticking.
Matcha Flavor, Just Right
Start with one tablespoon of matcha for gentle flavor and build up if you want a bold, vibrant hue. Since both the color and taste deepen after baking, don’t panic if the batter seems paler than you’d like.
Ways to Serve and Celebrate
This cake brings people together—whether you go classy with berries or wild with sprinkles, serving options fit any brunch vibe. Letting everyone have a go at ‘smashing’ the cake adds a little spark and laughter before the first bite.
- If you frost the cake in advance, chill it to set the layers but serve at room temperature for best texture.
- Use a small offset spatula for smoother frosting edges—works wonders on tiny cakes.
- Matcha pairs beautifully with a not-too-sweet vanilla frosting, so don’t be tempted to add more sugar.
 Save
Save  Save
Save This little matcha cake is guaranteed to make brunch memorable, whether you’re celebrating or just adding a touch of whimsy to your morning. Turn up the music and enjoy every crumb with friends around the table.
Recipe Guide
- → How do I keep the matcha color vibrant?
Use culinary-grade matcha, sift it into the dry ingredients to avoid lumps, and avoid overbaking. Slightly underbaking by a minute or two preserves moisture and green tone; cool cakes quickly on a rack to limit residual heat.
- → Can I make this dairy-free?
Yes. Replace whole milk with plant-based milk and use a vegan butter or margarine for the frosting. Texture may be a touch softer—chill briefly after icing to firm the buttercream if needed.
- → How can I tell when the mini cakes are done?
Insert a toothpick into the center — it should come out with a few moist crumbs but no wet batter. The tops will spring back gently and pull slightly from the pan edges when finished.
- → What’s the best way to assemble and thin-ice for a smash-style finish?
Level domes if needed, spread a thin layer of frosting between layers, then apply a light crumb coat around the outside. Chill 10–15 minutes, then finish with a thin, even layer of frosting to keep the look playful and easy to smash or slice.
- → How should I store leftovers?
Cover and refrigerate up to 2–3 days. Bring to room temperature before serving for best texture and flavor; if chilled solidly, let rest 30–60 minutes for the buttercream to soften.
- → How can I intensify the matcha flavor?
Increase matcha by small increments (up to about 1.5 tbsp) and taste the batter balance; sifted matcha avoids bitterness. A touch more sugar or vanilla can offset stronger green tea notes without making the cake overly sweet.