 Save
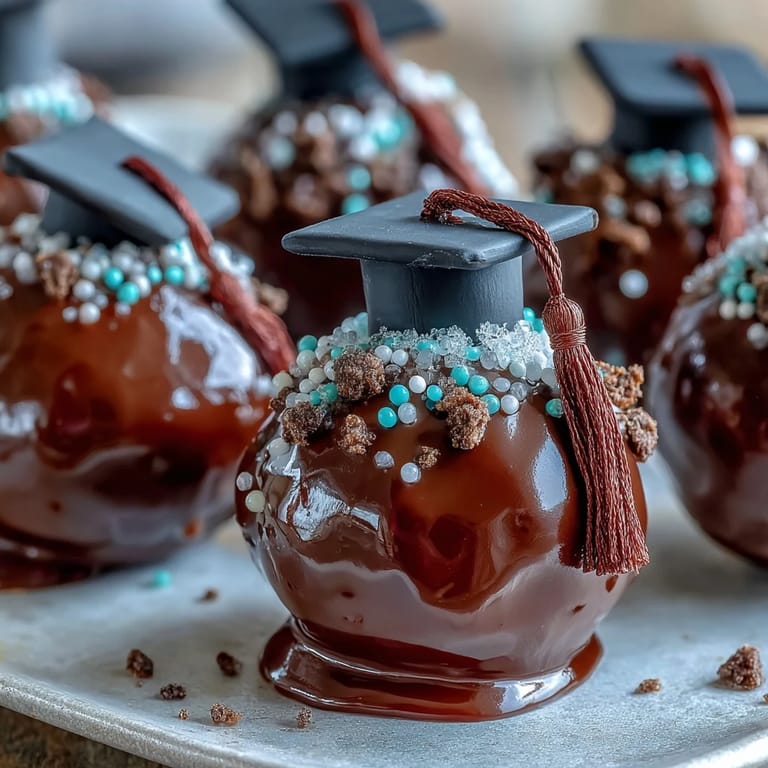
Save The first time I made graduation cake pops, the kitchen felt electric with anticipation. Colorful bowls of melted chocolate winked at me from the counter, and the smell of freshly baked cake mingled with sugary sweetness. I remember nervously juggling lollipop sticks while my playlist bounced between celebration songs and my own laughter. Streaks of frosting ended up everywhere, and my dog sat patiently, hoping for a stray crumb. I never expected how much fun decorating pops in school colors would be, especially after seeing the joy in everyone's eyes.
One afternoon, I made these cake pops for my younger cousin’s graduation party, and we turned the kitchen into a mini art studio. She carefully piped numbers onto each pop and grinned every time a pop turned out perfectly round. We joked about sneaking a few before the guests arrived, and her friends stopped by to help, their laughter filling the room. By the time we finished, the pops gleamed with school colors and tiny chocolate tassels. That moment made me realize how food can ignite celebration and belonging.
Ingredients
- Cake: Whether you use a box mix or bake from scratch, a moist cake is essential for binding the pops; be sure it’s cooled completely for the best texture.
- Cream cheese frosting or buttercream: A little goes a long way; add slowly, mixing until the crumbs just stick together, or else the pops can turn too dense.
- Candy melts in school colors: Vibrant hues transform plain cake into festive treats—if candy melts feel thick, a spoonful of shortening works wonders for smooth dips.
- Sprinkles, edible glitter, or colored sugar: These add playful sparkle and crunch and let you match the pops to your school’s theme.
- Lollipop sticks: A must for holding and displaying—gently insert so pops don’t crack.
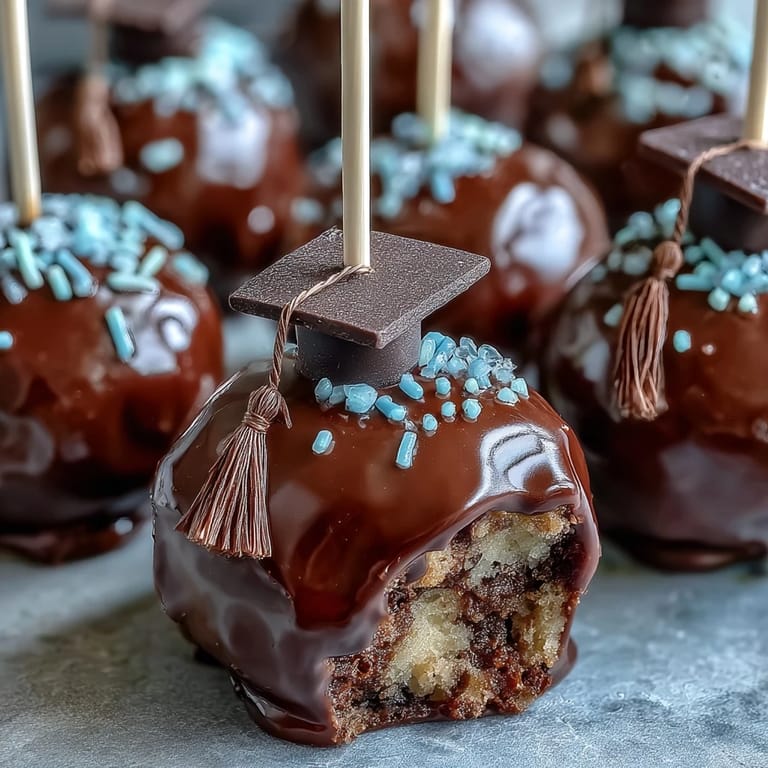
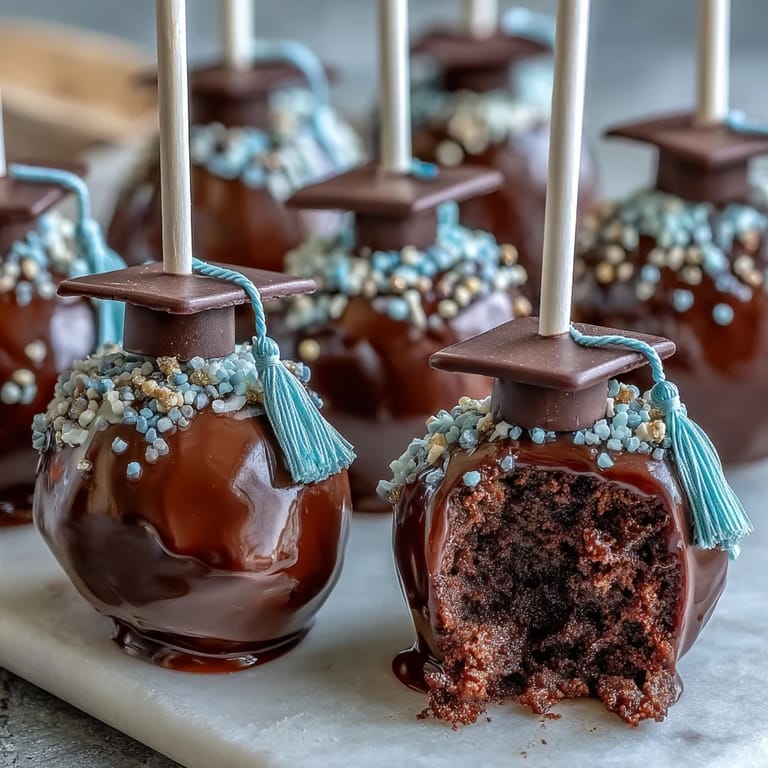
- Mini chocolate chips & fondant: Cute touches for graduation cap and tassel decorations; fondant squares turn ordinary cake pops into special keepsakes.
Tired of Takeout? 🥡
Get 10 meals you can make faster than delivery arrives. Seriously.
One email. No spam. Unsubscribe anytime.
Instructions
- Bake and Cool:
- Prepare your cake according to the instructions and let it cool fully so it crumbles easily.
- Crumble and Mix:
- Break apart the cake with your hands, then blend in frosting bit by bit until the mixture sticks together.
- Shape Pops:
- Roll tablespoon-sized scoops into tight balls, aiming for uniform size and a smooth surface.
- Chill Balls:
- Arrange balls on a lined tray and refrigerate (or freeze) until firm, which makes dipping easier.
- Melt and Prep:
- Melt candy melts in short bursts, stirring until glossy; add shortening if needed for a silky finish.
- Stick and Dip:
- Dip stick tips in melted chocolate and push halfway into each ball; then immerse pops completely, shaking off extra coating.
- Decorate:
- Quickly sprinkle with glitter or sugar and finish with fondant caps and chocolate chip tassels before the coating sets.
- Set to Harden:
- Stand pops upright in a styrofoam block and let them firm up fully, resisting the urge to touch while they set.
 Save
Save As we arranged the cake pops on the dessert table, one guest stopped and snapped a photo, saying, "These are almost too pretty to eat." The room felt alive with cheers, and several grads chose their favorite school color to celebrate. It struck me how food, crafted by hand, creates unforgettable moments, turning simple treats into tokens of achievement and joy.
Making Cake Pops Your Own
Experimenting with flavor is half the fun, whether you choose chocolate, vanilla or mix in a hint of almond for a unique touch. Swapping in gluten-free cake mix kept everyone included, and one batch filled with lemon zest added a tangy twist. Customizing decorations with edible glitter made each pop feel as unique as the graduate. Try writing the graduation year on a few pops for a memorable detail—they disappear fast but linger in photos.
Cleaning Up and Storage Tips
Keep a damp towel nearby for sticky hands, especially when shaping the cake mixture and handling melted chocolate. After setting, pops store neatly in airtight containers and stay fresh for days, making them great for advance prep. Refrigerating preserves the vivid decoration, but letting pops sit at room temp before serving prevents cracking.
Troubleshooting Cake Pop Woes
Sometimes cake pops wobble or slip from their sticks, but chilling longer usually fixes this. If your coating isn’t smooth, stir thoroughly and check the temperature, as overheated chocolate turns clumpy. Decorations can slide if the coating sets too quickly, so work with just a few pops at a time for best results.
- Always chill before dipping for a sturdy base.
- Let the pops set completely before stacking or packaging.
- Don’t forget to have fun with colors—mismatched pops offer charm and personality!
 Save
Save So go ahead: celebrate achievements, big or small, with a batch of cheerful cake pops. Sharing them is as delightful as making them, especially when each pop bursts with school spirit.
Recipe Guide
- → How can I customize cake pops to match my school colors?
Use colored candy melts or white chocolate with food coloring. Add matching sprinkles, fondant caps, or edible glitter for school flair.
- → What cake types work best for graduation pops?
Both vanilla and chocolate cakes are popular bases. Homemade or boxed cakes will work, as long as they are fully cooled before crumbling.
- → How do you prevent cake pops from falling off the stick?
Dip the stick tip in melted chocolate first, then insert into the cake ball. Chill pops well before dipping for better stability.
- → Can cake pops be made gluten-free or vegetarian?
Use a gluten-free cake mix and check ingredient labels. Most decorations and frostings can be adapted for vegetarian diets.
- → What tools are needed to decorate graduation cake pops?
You'll need mixing bowls, spatula, baking sheet, microwave-safe bowls, lollipop sticks, and a styrofoam block for setting pops.
- → How should cake pops be stored after decorating?
Store pops in an airtight container at room temperature for three days, or refrigerate for up to a week if needed.